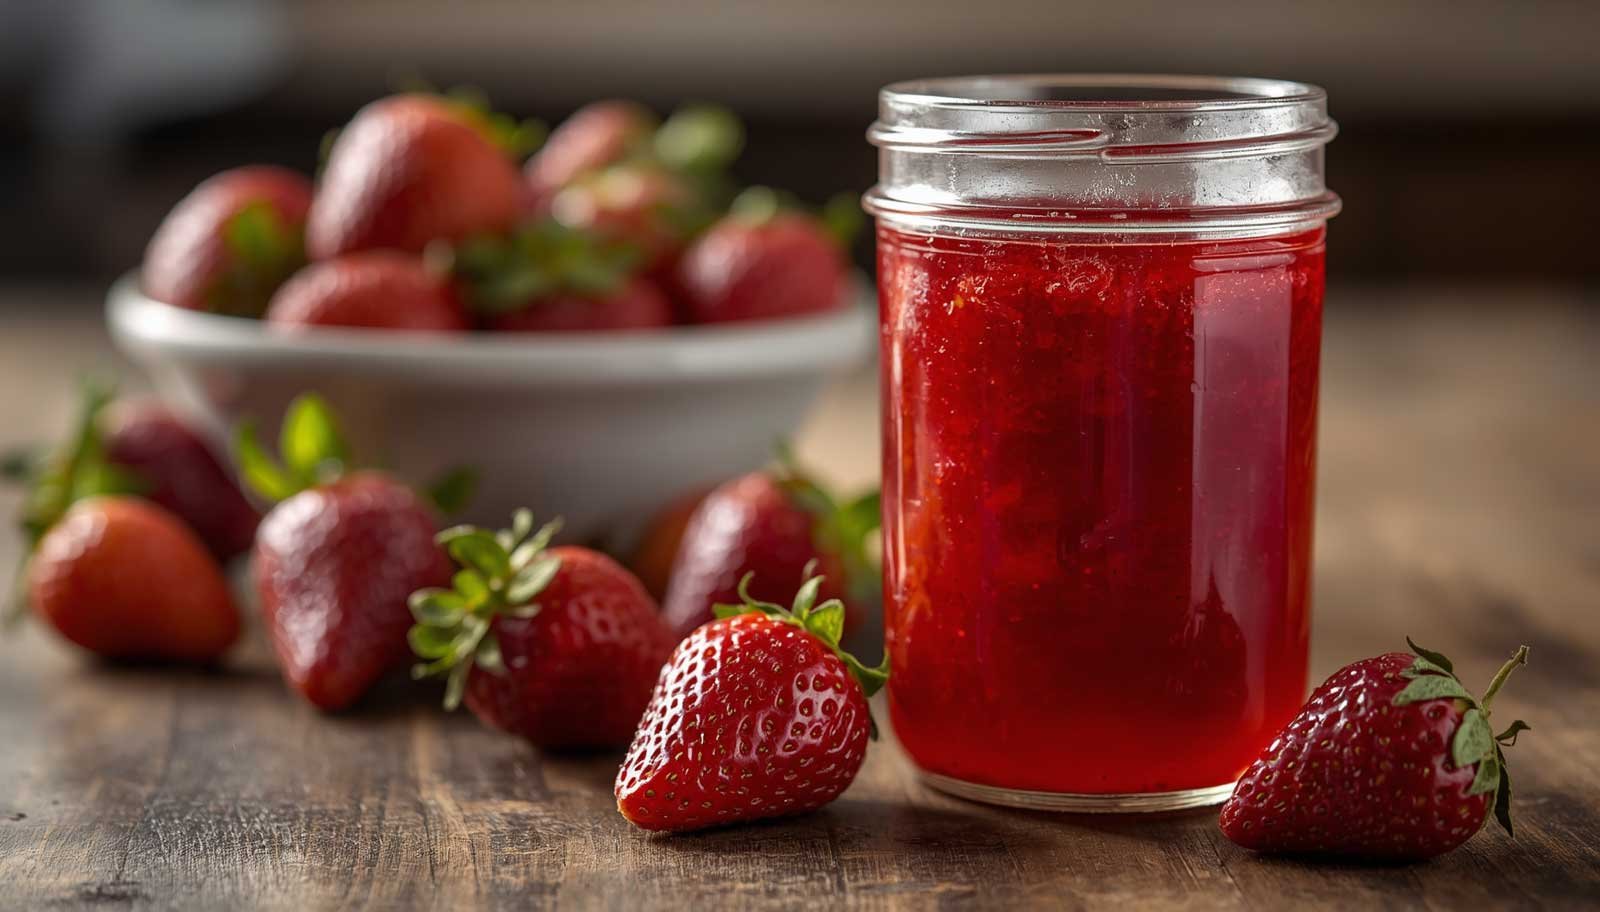
There is something special about making strawberry jam at home. Fresh strawberries simmer gently with sugar and a little lemon juice, filling the kitchen with a sweet, fruity aroma. As the berries soften and the mixture thickens, a handful of simple ingredients turns into a glossy jam that tastes wonderful on warm toast, homemade biscuits, pancakes, and more.
This easy homemade strawberry jam without pectin is perfect when you have a small amount of fresh strawberries and want to make something delicious without spending the whole afternoon in the kitchen. You don’t need special jam-making equipment or store-bought pectin. The fruit, sugar, and lemon juice do most of the work.
Because this is a small-batch recipe, you can make just enough to enjoy over the next couple of weeks, provided you store it properly in the refrigerator. It’s a lovely way to use ripe seasonal berries and enjoy their fresh flavor long after you’ve brought them home.
Why You’ll Love This Small-Batch Strawberry Jam
No commercial pectin needed: The jam thickens naturally as the strawberries cook and moisture evaporates.
Made with simple ingredients: You need only strawberries, sugar, and lemon juice.
Perfect for small quantities: This recipe uses about one pound of strawberries, making it manageable even if you don’t have a large harvest.
Easy to customize: Keep the jam smooth or leave small pieces of fruit for a more rustic texture.
Full of fresh strawberry flavor: Without a long list of extra ingredients, the sweet and slightly tart taste of the berries takes center stage.
Great for everyday breakfasts: Spread it over toast, swirl it into yogurt, or spoon it onto pancakes and waffles.
Ingredients You’ll Need
Fresh Strawberries
You’ll need 1 pound (450 g) of fresh strawberries. Choose ripe, fragrant berries with a deep red color for the best flavor.
Wash them gently, remove the green tops, and cut larger berries into smaller pieces. Very ripe strawberries work well because they are naturally sweet, but avoid using fruit that is moldy or spoiled.
Granulated Sugar
Sugar sweetens the jam and helps it thicken and keep its quality during refrigerated storage. It also balances the natural tartness of the berries.
This recipe uses 1 cup of sugar, which is a practical starting point for a small batch. Reducing the sugar significantly can affect the final texture and storage quality, so avoid making large reductions without using a tested recipe designed for lower sugar.
Fresh Lemon Juice
Lemon juice adds brightness and balances the sweetness of the strawberries. Its acidity also helps the fruit mixture set.
Freshly squeezed lemon juice works well. For consistent results, measure it rather than estimating.
How Does Strawberry Jam Thicken Without Pectin?
Pectin is a natural substance found in many fruits that helps jams and jellies form a gel. Commercial pectin is often added to help jam set more quickly or reliably, but it isn’t essential for every homemade recipe.
Strawberries contain some natural pectin, although generally less than fruits such as apples and citrus. When strawberries cook with sugar, water evaporates and the mixture becomes more concentrated. The acidity from lemon juice helps support the setting process.
Without added pectin, strawberry jam may remain softer and more spoonable than a commercial jam. That’s perfectly fine for spreading on toast or stirring into yogurt.
The key is to cook the mixture until it reaches the right consistency without letting it scorch or become overly thick.
How to Make Homemade Strawberry Jam Without Pectin
Step 1: Prepare the Strawberries
Wash the strawberries under cool running water and pat them dry. Remove the stems and leaves, then chop the berries into small pieces.
Place them in a medium, heavy-bottomed saucepan. If you prefer a smoother jam, lightly mash some of the strawberries with a fork or potato masher before cooking.
For a chunkier jam, leave most of the pieces intact. They’ll soften as they simmer.
Step 2: Add the Sugar and Lemon Juice
Add the granulated sugar and measured lemon juice to the saucepan. Stir well so the strawberries are evenly coated.
Let the mixture sit for about 10 minutes if you have time. This allows the sugar to draw some juice from the berries, helping the fruit begin to break down more evenly.
You don’t need to add water. Strawberries release plenty of liquid as they warm.
Step 3: Bring the Mixture to a Gentle Boil
Place the saucepan over medium heat and stir occasionally until the sugar dissolves and the strawberries release their juices.
As the mixture heats, it will become more liquid and begin bubbling. Once it reaches a steady boil, lower the heat slightly while maintaining a gentle simmer.
Use a reasonably large saucepan to allow the mixture to bubble without overflowing. Strawberry jam can foam as it cooks, so avoid filling the pan too close to the top.
Step 4: Simmer Until the Jam Thickens
Cook for approximately 20 to 30 minutes, stirring regularly and scraping the bottom of the pan to prevent sticking.
As the water evaporates, the mixture will gradually become thicker and glossier. The strawberries will soften, and the bubbles may become slower and heavier.
Cooking time varies with the water content of the berries, the width of the saucepan, and the heat level. Don’t rely on the clock alone.
If foam forms on the surface, you can skim it off with a spoon for a clearer-looking jam, although a little foam won’t affect the taste.
Step 5: Test the Consistency
There are a few ways to check whether the jam is ready.
The cold-plate test: Before cooking, place a small plate in the freezer. Spoon a little hot jam onto the cold plate and wait about 30 seconds. Push the edge of the jam with your fingertip. If it wrinkles slightly and doesn’t immediately run back into the space, it may be ready. If it remains very runny, continue cooking for a few minutes and test again.
The spoon test: Dip a cool spoon into the jam and let it drip. As the mixture thickens, it should fall more slowly and begin to form heavier drops rather than a thin stream.
The temperature test: For a more precise approach, a jam thermometer can help you assess the setting point. A commonly used guide is around 220°F (104°C) at sea level, but the exact result depends on altitude, sugar concentration, and acidity. Temperature alone is not a guarantee of the final set.
Remember that the jam will thicken further as it cools. It’s better to stop when it is slightly looser than your ideal finished texture than to cook it until it becomes stiff.
Step 6: Cool and Transfer to a Jar
Remove the saucepan from the heat and let the jam stand for about 5 to 10 minutes. Stir gently, then transfer it to a clean, heat-safe jar using a clean spoon or funnel.
Allow the jam to cool before closing the jar and placing it in the refrigerator. Avoid placing a very hot jar directly on a cold surface, as sudden temperature changes can cause glass to crack.
This is a refrigerator jam, not a shelf-stable canned preserve. Keep it refrigerated and use a clean spoon each time you serve it.
Tips for the Best Strawberry Jam
Choose flavorful berries. Since strawberries provide most of the flavor, ripe, fragrant fruit makes a noticeable difference.
Use a heavy-bottomed pan. It distributes heat more evenly and reduces the chance of scorching.
Stir more frequently as the jam thickens. The mixture can stick to the bottom more easily toward the end of cooking.
Don’t add extra water. The strawberries release their own liquid, and extra water simply increases the time needed for evaporation.
Test before overcooking. A soft homemade jam is easier to spread than a mixture that has become too thick.
Let the jam cool before judging the final set. It may look runny while hot but become noticeably thicker in the refrigerator.
Keep the batch small. A smaller quantity cooks more quickly and is easier to manage, especially for first-time jam makers.
Easy Variations to Try
Strawberry Vanilla Jam
Add a small amount of vanilla extract after removing the jam from the heat. Vanilla adds a warm aroma that pairs beautifully with strawberries.
Strawberry Lemon Jam
Add a little finely grated lemon zest along with the lemon juice for a brighter citrus flavor. Use only the colored outer peel, avoiding the bitter white pith.
Strawberry Mint Jam
Stir in a few finely chopped fresh mint leaves after cooking. Start with a small amount so the mint complements rather than overwhelms the berries.
Strawberry Rhubarb Jam
Replace some of the strawberries with chopped rhubarb for a tangier flavor. Because changing the fruit affects acidity, water content, and setting, use a tested recipe for the altered proportions if you want predictable results.
Rustic Chunky Strawberry Jam
Mash only a portion of the strawberries before cooking and leave the rest in small pieces. This creates a textured jam that works especially well on thick slices of toast and homemade biscuits.
How to Use Homemade Strawberry Jam
Once your jam has cooled, there are plenty of ways to enjoy it beyond the breakfast table.
- Toast and butter: Spread a thin layer over warm toast for a simple homemade breakfast.
- Pancakes and waffles: Spoon the jam over a stack of pancakes or waffles instead of syrup.
- Yogurt bowls: Swirl a little into plain Greek yogurt and top with granola or fresh fruit.
- Oatmeal: Add a spoonful to warm oats for a sweet strawberry flavor.
- Biscuits and scones: Serve it alongside freshly baked biscuits, scones, or homemade bread.
- Cakes and cupcakes: Use it as a filling for sponge cakes or as a layer in simple desserts.
- Ice cream: Spoon a little over vanilla ice cream for an easy strawberry topping.
- Peanut butter sandwiches: Pair it with peanut butter for a classic sweet-and-savory sandwich.
You can also stir a small spoonful into a simple vinaigrette for a fruity dressing, provided the jam is still fresh and has been stored safely.
How to Store Small-Batch Strawberry Jam
Because this recipe is not processed using a tested canning method, it should be stored in the refrigerator rather than kept in the pantry.
In the refrigerator: Transfer the cooled jam to a clean, covered container and refrigerate promptly. For best quality, plan to use it within about 1 to 2 weeks. Discard it sooner if you notice mold, fermentation, an unusual odor, or other signs of spoilage. Never scrape mold off the top and keep using the rest.
In the freezer: For longer storage, freeze the jam in a freezer-safe container, leaving some space at the top for expansion. Use it within about 3 months for best quality. Thaw it in the refrigerator and stir before serving if the texture has separated slightly.
For longer shelf storage: Do not store this recipe at room temperature or assume that a hot jar creates a safe seal. Shelf-stable jam requires an appropriate, tested canning recipe, correct acidity, suitable jars, and the recommended boiling-water processing time.
Common Mistakes to Avoid
Cooking the Jam Too Quickly
High heat can cause the mixture to scorch before enough water evaporates. Keep the jam at a controlled boil or simmer and stir regularly.
Using Underripe or Flavorless Strawberries
Sugar can add sweetness, but it cannot fully compensate for berries with little flavor. Choose ripe fruit whenever possible.
Reducing the Sugar Too Much
Sugar contributes to texture as well as sweetness. Cutting it significantly may leave the jam thin and can affect its storage quality. Use a tested low-sugar recipe if you prefer a less-sweet version.
Expecting a Firm, Store-Bought Set
Without added pectin, the jam may have a softer consistency. That doesn’t necessarily mean it has failed. Let it cool completely before deciding whether it needs more cooking.
Filling a Jar and Leaving It on the Counter
A clean jar alone does not make homemade jam shelf-stable. Refrigerate this small-batch recipe promptly after cooling.
A Sweet Little Taste of Strawberry Season
Homemade strawberry jam doesn’t need to be complicated. With fresh berries, sugar, lemon juice, and a little patience, you can make a small jar of fruity jam that’s perfect for everyday breakfasts and simple homemade desserts.
The best part is that you can adjust the texture to suit your taste, leaving the strawberries chunky or cooking them down until smooth and glossy. Enjoy it on toast, spoon it over pancakes, or swirl it into yogurt for a quick treat.
Make a batch when strawberries are ripe and flavorful, keep it properly refrigerated, and enjoy a little taste of the season one spoonful at a time.
Easy Homemade Strawberry Jam Without Pectin
Ingredients
3 itemsInstructions
9 steps-
01
Wash, hull, and chop the strawberries. Place them in a medium, heavy-bottomed saucepan.
-
02
Add the sugar and lemon juice. Stir well and let stand for 10 minutes if desired.
-
03
Heat over medium heat, stirring occasionally, until the sugar dissolves and the strawberries release their juices.
-
04
Bring the mixture to a steady boil, then reduce the heat slightly to maintain a controlled simmer.
-
05
Cook for 20–30 minutes, stirring regularly and scraping the bottom of the pan as the mixture thickens.
-
06
Test the jam using a chilled plate. If it remains runny, cook for a few more minutes and test again.
-
07
Remove from the heat when the jam has thickened but is still slightly looser than the desired final texture.
-
08
Let stand for 5–10 minutes, then transfer to a clean, heat-safe jar.
-
09
Cool, cover, and refrigerate promptly. Enjoy within about 1–2 weeks for best quality.
Chef's Notes & Tips
- Use ripe, flavorful strawberries for the best taste.
- Cooking time varies with the water content of the fruit and the size of the saucepan.
- The jam will thicken further as it cools.
- This is a refrigerator jam, not a shelf-stable canned preserve.
- Freeze in a suitable container for longer storage, leaving room for expansion.