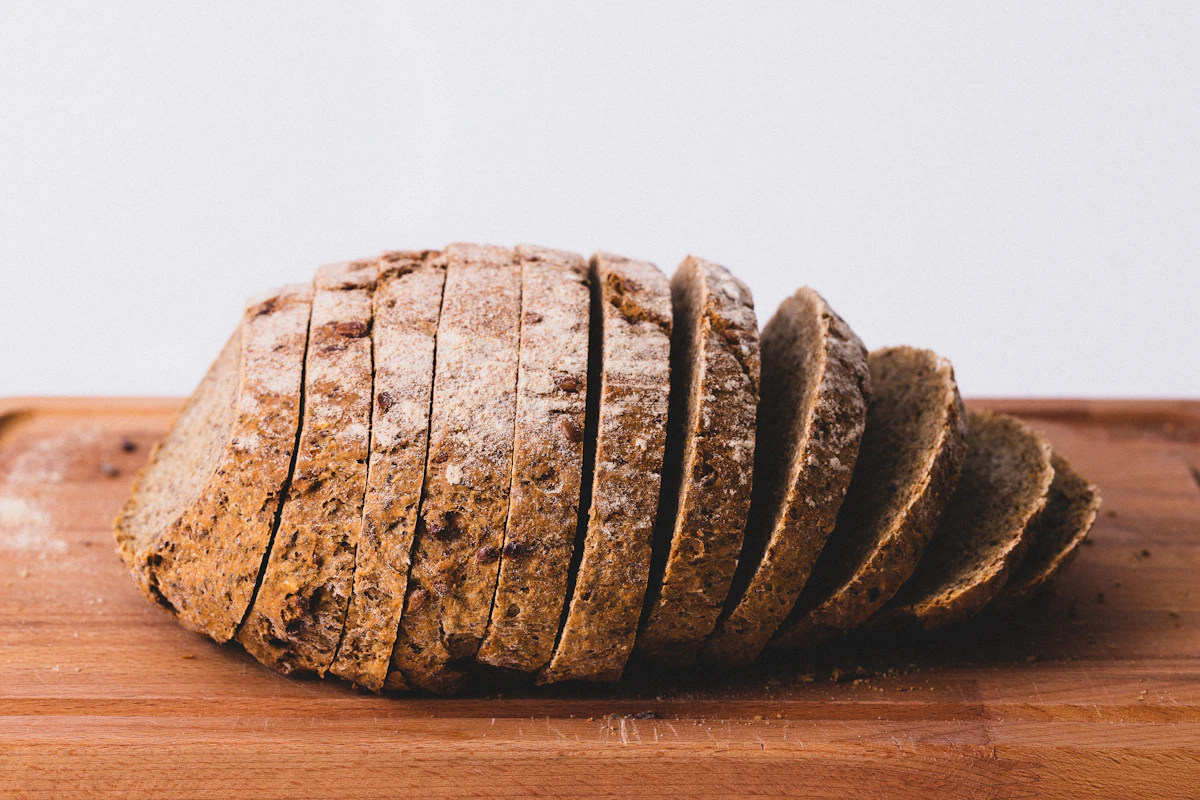
There is a common misconception that 100% whole wheat bread must inevitably turn out dense, dry, and heavy as a brick. Commercial grocery store whole wheat breads compensate with chemical conditioners and refined sugars. But when you bake whole wheat bread at home using raw wildflower honey, warm whole milk, and a simple dough hydration method, you achieve a tall, tender, pillowy loaf that slices cleanly for sandwiches and toasts into golden perfection.
The intoxicating aroma of baking honey wheat bread wafting through the house on a quiet Sunday afternoon is comfort in its purest form. Sweetened naturally with rich amber honey and enriched with melted butter, this wholesome loaf balances the earthy, nutty flavor of stone-ground wheat with an irresistible cloud-soft crumb that stays fresh on the counter for days.
The Secret to Soft, Pillowy Whole Wheat Bread
Whole wheat flour contains the entire wheat berry: endosperm, germ, and bran. The hard outer bran particles act like tiny razor blades, cutting delicate gluten strands as you knead. Overcoming this requires two essential techniques:
- The Autolyse (Rest Period): Mixing the whole wheat flour with warm milk and water and letting it rest for 20 minutes before adding yeast and salt allows the coarse bran to absorb moisture, softening its sharp edges and kick-starting gluten formation naturally.
- Fat and Natural Sugar: Milk, butter, and raw honey are natural dough tenderizers. Fats coat the flour proteins, inhibiting overly tough gluten bonds, while honey is a natural humectant that retains moisture long after the bread has cooled.
Soft Honey Whole Wheat Sandwich Bread
Ingredients
9 itemsInstructions
10 steps-
01
Proof the Yeast: In the bowl of a stand mixer (or large mixing bowl), combine warm milk, warm water, honey, and yeast. Whisk gently and let sit for 5 to 7 minutes until frothy and smelling aromatic. (If using instant yeast, you can mix immediately without waiting).
-
02
Autolyse and Mix Dough: Add the whole wheat flour and melted butter to the yeast mixture. Stir with a wooden spoon until a shaggy dough forms and no dry pockets of flour remain. Cover the bowl with a clean towel and let rest undisturbed for 20 minutes to soften the wheat bran.
-
03
Knead: Sprinkle the fine sea salt over the rested dough. Using the dough hook attachment on medium-low speed (or kneading by hand on a lightly floured surface), knead the dough for 8 to 10 minutes. The dough should become smooth, supple, elastic, and slightly tacky to the touch without sticking to your hands. If it feels too wet, add 1 to 2 tablespoons of flour; if too dry, add a splash of warm water.
-
04
First Rise: Form the dough into a smooth ball. Lightly grease a large bowl with butter or oil, place the dough inside, and turn once to coat. Cover tightly with a damp kitchen towel or plastic wrap. Place in a warm, draft-free spot for 60 to 75 minutes, until doubled in bulk.
-
05
Shape the Loaf: Butter an 8.5 x 4.5-inch metal loaf pan thoroughly. Turn the risen dough out onto a lightly floured work surface. Gently press with your palms into an 8×15-inch rectangle. Starting from the short end, roll the dough tightly into a cylinder like a jelly roll, pinching the final seam securely shut. Tuck the ends under.
-
06
Second Rise: Place the shaped dough seam-side down into the prepared loaf pan. Cover loosely with a towel and let rise for 45 to 60 minutes, until the crown of the dough crowns about 1 inch above the rim of the pan. (Optional: brush top gently with a little milk and sprinkle with rolled oats).
-
07
Bake: Preheat oven to 350°F (175°C). Bake on the center rack for 32 to 35 minutes. If the top browns too quickly after 20 minutes, tent loosely with a sheet of foil. The loaf is done when deeply golden brown and an instant-read thermometer inserted into the center reads 195°F to 200°F (90°C).
-
08
Cool Completely: Remove the bread from the oven and immediately brush the hot crown with melted butter for a soft, shiny crust. Let cool in the pan for 10 minutes, then invert onto a wire cooling rack. Resist the temptation to slice while hot! Let cool completely for at least 2 hours before slicing so the internal crumb sets.
Chef’s Notes
-
09
Patience While Cooling: Slicing warm bread causes internal steam to escape, which crushes the delicate crumb and makes the interior feel gummy. Cool completely for clean, perfect sandwich slices.
-
10
Pan Material: Metal loaf pans conduct heat far better than ceramic or glass pans, ensuring evenly browned, crisp side and bottom crusts.
Frequently Asked Questions
Can I substitute all-purpose flour for part of the whole wheat?
Yes. If you prefer an even lighter, featherweight crumb, use 2 cups of whole wheat flour and 1 1/2 cups of unbleached bread flour or all-purpose flour.
How do I store homemade sandwich bread?
Store the cooled loaf in a bread box or paper bag at room temperature for up to 4 days. Never refrigerate homemade bread, as cold temperatures accelerate starch retrogradation (staling). For long-term storage, slice the loaf and freeze in a ziplock bag; pop frozen slices straight into the toaster!