There is no preserve that brings sunshine to the breakfast table quite like freshly made lemon curd. Glistening with a luminous, custard-gold sheen, a spoonful of homemade lemon curd is an unforgettable culinary revelation: intensely tart, deeply buttery, sweet, and so velvety that it glides across warm scones like liquid silk. While commercial grocery store curds are often cloudy, gelatinous, and thickened with artificial starches, real homemade curd relies entirely on the natural alchemy of fresh egg yolks, citrus juice, sugar, and grass-fed butter.
This small-batch recipe highlights sweet, fragrant Meyer lemons“the naturally occurring hybrid of a classic Eureka lemon and a sweet mandarin orange. With their thin, golden-orange skins, floral aroma, and lower acidity, Meyer lemons yield a curd that is softer, more nuanced, and less aggressively sharp than standard lemons. Made in just fifteen minutes on the stovetop, it fills two half-pint jars with pure liquid sunshine.
The Egg Yolk Chemistry: How Curd Sets
Unlike fruit jams that rely on pectin to gelatinize, fruit curd is an emulsion thickened through egg protein coagulation. Understanding the chemistry guarantees smooth, lump-free perfection every single time:
- Gentle Heat is Essential: Egg yolks begin coagulating at 145°F (63°C) and set fully by 170°F (77°C). If heated too aggressively over direct high heat, the egg proteins curdle, turning your smooth sauce into scrambled eggs.
- The Double Boiler (Bain-Marie): Cooking your curd in a heatproof glass bowl set over a saucepan of gently simmering water (without the water touching the bowl) provides gentle, indirect radiant heat that prevents scorching.
- Cold Butter Mounting: Stirring cold cubed butter into the hot cooked curd off the heat creates a luscious fat-in-water emulsion that sets into a firm, spoonable spread as it chills in the refrigerator.
Why You Must Strain Your Curd
Even the most attentive baker will occasionally have microscopic chalazae (the white protein strands that anchor egg yolks) solidify during cooking. Pouring your warm cooked curd through a fine-mesh stainless steel sieve takes only sixty seconds and separates any tiny cooked egg particles or lemon zest fragments, guaranteeing a glossy, mirror-like texture worthy of a Parisian pastry shop.
Ingredients You’ll Need
Four elemental farmhouse ingredients create this delicacy:
- Fresh Meyer Lemons: Four to five ripe Meyer lemons (yields 1/2 cup freshly squeezed juice and 1 tablespoon of finely grated zest). If Meyer lemons are out of season, use standard Eureka lemons mixed with 2 tablespoons of fresh orange juice.
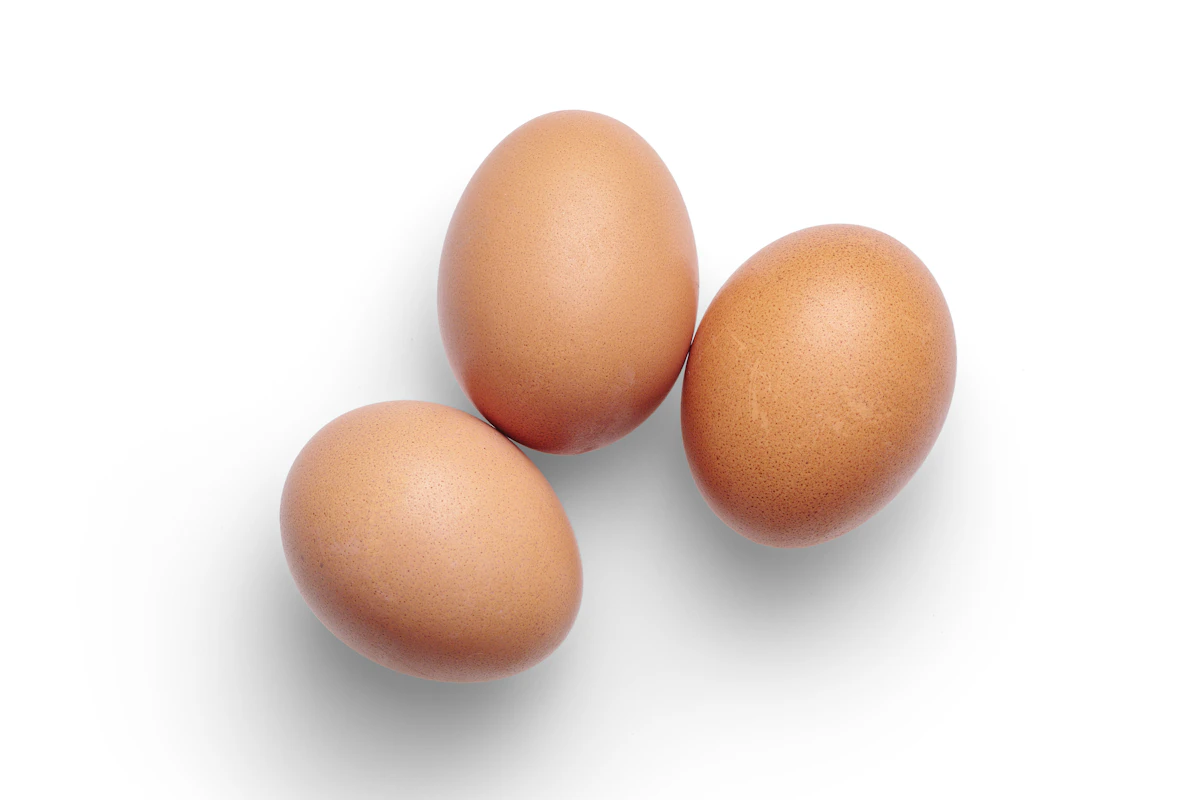
- Large Egg Yolks & Whole Eggs: Four large egg yolks plus one whole large egg. Egg yolks provide rich yellow color and velvety body, while the single whole egg contributes structure.
- Granulated Sugar: Three-quarters cup of white granulated sugar.
- Unsalted European Butter: Half a cup (1 stick / 8 tablespoons) of cold unsalted European butter, cut into 1/2-inch cubes.
- Fine Sea Salt: A tiny pinch to heighten the citrus perfume and balance sweetness.
Step-by-Step Cooking Instructions
Ready from citrus crate to jar in under 20 minutes:
Step 1: Express the Citrus Oils
Finely zest two of the Meyer lemons using a microplane, avoiding the bitter white pith. In a medium heatproof glass or stainless steel bowl, combine the lemon zest and granulated sugar. Using your fingertips, rub the zest into the sugar for 1 minute until the sugar is moist and fragrant with yellow citrus oils.
Step 2: Whisk the Egg Base
Whisk the four egg yolks and one whole egg into the citrus sugar until pale and slightly frothy (about 1 minute). Whisk in the 1/2 cup of freshly squeezed Meyer lemon juice and a pinch of fine sea salt.
Step 3: Gentle Double-Boiler Cook
Set the bowl over a saucepan filled with 1 to 2 inches of gently simmering water over medium-low heat. Ensure the bottom of the bowl does not touch the simmering water. Whisk continuously for 10 to 12 minutes. The mixture will transition from foamy and translucent into an opaque, thick, golden custard that registers 170°F (77°C) on a thermometer and coats the back of a wooden spoon (when you swipe your finger across the spoon, it leaves a clean, clear track).
Step 4: Mount with Cold Butter
Immediately remove the bowl from the heat. Whisk in the cold cubed butter, two or three cubes at a time, allowing each addition to melt into the hot custard before adding the next. The curd will turn glossy, pale gold, and exceptionally smooth.
Step 5: Strain, Jar and Chill
Pour the warm curd through a fine-mesh sieve directly into clean glass mason jars, using a rubber spatula to push the smooth cream through. Discard any zest or chalazae left behind in the strainer. Press a piece of plastic wrap directly onto the surface of the curd to prevent a skin from forming, then let cool to room temperature. Fasten lids tightly and refrigerate for at least 4 hours to set fully. Keeps chilled for up to 3 weeks.
Meyer Lemon Curd in Small Batches
Ingredients
6 itemsInstructions
6 steps-
01
Rub lemon zest into granulated sugar with your fingertips in a heatproof bowl until aromatic.
-
02
Whisk in egg yolks, whole egg, fresh lemon juice, and a pinch of salt until smooth.
-
03
Set bowl over a saucepan of simmering water (double boiler). Whisk constantly for 10-12 minutes until thick and coats the back of a spoon (170°F).
-
04
Remove from heat; whisk in cold cubed butter piece by piece until melted and glossy.
-
05
Strain through a fine-mesh sieve into clean jars to remove any egg particles.
-
06
Press plastic wrap against surface, cool to room temperature, seal, and refrigerate for 4 hours to set. Keeps refrigerated for up to 3 weeks.
Chef's Notes & Tips
- Serving Inspirations: Outstanding spread over warm buttermilk scones, dolloped on pavlovas, layered into parfaits, or swirled into vanilla Greek yogurt.
- Freezing: Lemon curd freezes beautifully! Seal in airtight freezer-safe jars for up to 6 months. Thaw overnight in the refrigerator before using.