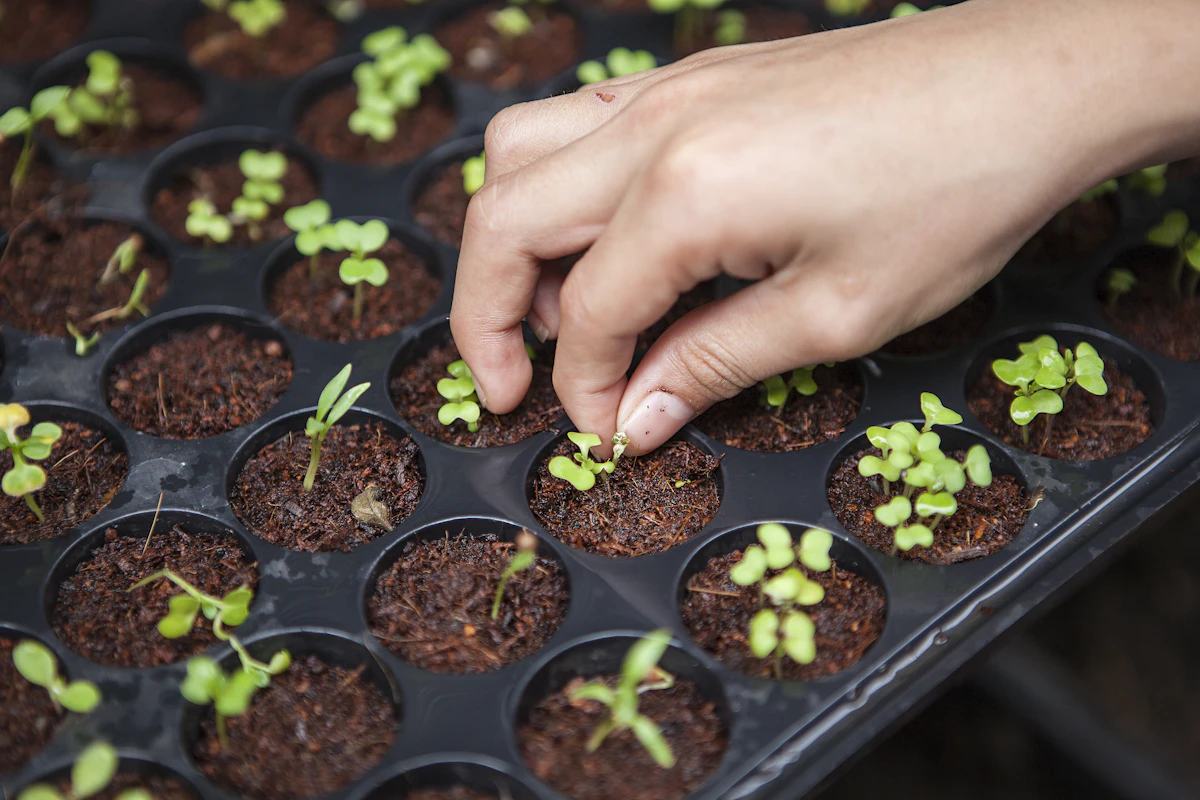
When deep winter blankets the outdoor garden beneath freezing snow and frosty winds, the longing for garden-fresh greens can feel acute. Supermarket plastic clamshells of pale, limp lettuce that spoil within forty-eight hours of purchase are an uninspiring substitute for the sweet, hydrating crunch of leaves plucked fresh from living soil. Yet you do not need an outdoor greenhouse, a rural homestead, or expensive hydroponic machinery to harvest crisp salad greens in January.
With an inexpensive LED grow light, a sunny windowsill or countertop shelf, shallow seed flats, and a few packets of cut-and-come-again seeds, you can easily maintain a productive indoor winter micro-garden. In just twenty to thirty days from sowing, your kitchen will overflow with vibrant, peppery arugula, buttery red leaf lettuce, nutrient-dense tatsoi, and tender pea shoots all winter long.
Why Salad Greens Are Ideal for Indoor Growing
Fruiting vegetables like tomatoes and peppers require massive amounts of thermal heat, intense solar radiation, and insect pollination to set fruit”making them difficult to grow indoors during winter. Leafy salad greens, however, are evolutionary marvels for indoor cultivation:
- Shallow Root Systems: Lettuce and baby greens have fibrous, shallow roots that thrive in containers just 3 to 4 inches deep.
- Low Light Demands: Greens do not need intense sunlight to produce fruit; they only need enough light to power photosynthesis for leaf expansion.
- Thrive in Cool Ambient Temps: Salad greens naturally prefer temperatures between 60°F and 68°F (15°C to 20°C)”the exact ambient temperature of a typical winter home! Warm temperatures cause outdoor lettuce to bolt and turn bitter; indoor winter conditions keep them sweet and crisp.
- The “Cut-and-Come-Again” Magic: Harvesting only the outer mature leaves allows the central growing crown to continue producing fresh leaves for four to six weeks from a single seeding.
The Best Greens Varieties for Indoor Winter Flats
Choose high-yield, compact varieties that mature quickly:
- Baby Leaf Lettuces: ‘Black Seeded Simpson’, ‘Salad Bowl’, ‘Lollo Rossa’, and ‘Little Gem’. Ready for initial baby harvest in 25 to 30 days.
- Wild Arugula (Rocket): Fast-growing with an intense, nutty, peppery bite. Ready to clip in 21 days.
- Asian Brassica Greens: Tatsoi, Mizuna, and Baby Bok Choy. Incredibly cold-hardy with thick, spoon-shaped succulent leaves.
- Pea Shoots & Sunflower Greens: Grown from speckled peas or black oil sunflower seeds, ready in just 10 to 14 days with tender, sweet pea flavor.
Essential Equipment for Success
You can set up a winter indoor growing station on a modest budget:
- Shallow Growing Trays: Standard 1020 seed flats with drainage holes (or repurposed takeout containers with holes drilled in the bottom) set inside a waterproof drip tray.
- Organic Seed Starting Mix: Avoid heavy outdoor garden soil, which compacts indoors and harbors fungus gnats. Use a lightweight, sterile blend of coco coir, peat moss, perlite, and worm castings.
- Full-Spectrum LED Grow Light: While a south-facing sunny windowsill can sustain slow growth, a simple 24-watt or 40-watt full-spectrum LED light strip suspended 4 to 6 inches above the foliage ensures rapid, stocky, vibrant green growth without leggy stretching.
- A Simple Outlet Timer: Set your grow lights on an automatic timer for 14 to 16 hours of light per day, followed by 8 hours of darkness.
Step-by-Step Planting & Harvesting Protocol
Follow this simple indoor planting sequence:
Step 1: Prep the Soil Flats
Moisten your seed starting mix with warm water in a bucket until it feels like a wrung-out sponge. Fill your growing flat with 3 inches of the damp mix. Press the soil down gently with your hands or a flat block of wood to create a level, even planting bed.
Step 2: Sow Seeds Densely
For baby greens, sow seeds much more densely than you would in an outdoor garden. Scatter seeds evenly across the surface (roughly 1/4 inch apart). Dust a very thin layer (1/8 inch) of seed starting mix or fine vermiculite over the seeds to cover them lightly.
Step 3: Gentle Moisture & Germination
Mist the surface thoroughly with a spray bottle filled with clean water. Cover the flat with a clear plastic humidity dome or plastic wrap to retain moisture. Place in a warm room (68°F to 72°F). Seeds will sprout into tiny green cotyledons within 3 to 5 days.
Step 4: Light & Bottom Watering
The moment seedlings sprout, remove the plastic humidity dome immediately! Position your grow light 4 inches directly above the seedlings. As plants grow, raise the light to maintain that 4-inch gap. Always water from the bottom: pour water into the lower drip tray and let the soil wick moisture upward for 20 minutes, then discard any standing water. Bottom watering prevents damping-off fungal disease and discourages fungus gnats.
Step 5: The Cut-and-Come-Again Harvest
When greens reach 4 to 5 inches in height (about 3 to 4 weeks after sowing), they are ready for harvest. Using clean kitchen shears, snip the outer leaves about 1 inch above the soil level, taking care to leave the central growing tip intact. Rinse gently in cold water, spin dry, and enjoy the freshest winter salad imaginable. Within 7 to 10 days, a fresh flush of tender leaves will regrow from the center.
Succession Sowing for an Endless Supply
To ensure a continuous harvest from November through April, practice succession sowing: sow a fresh flat of seeds every two to three weeks. By the time flat #1 has completed its third cutting cycle, flat #2 is entering its prime harvest window, ensuring an unbroken supply of living, nutrient-dense garden greens all winter long.
There is profound psychological and physical vitality in tending living green plants when the outside world is frozen in white and gray. With a small indoor greens flat, summer’s garden vitality remains alive and flourishing inside your home all year round.