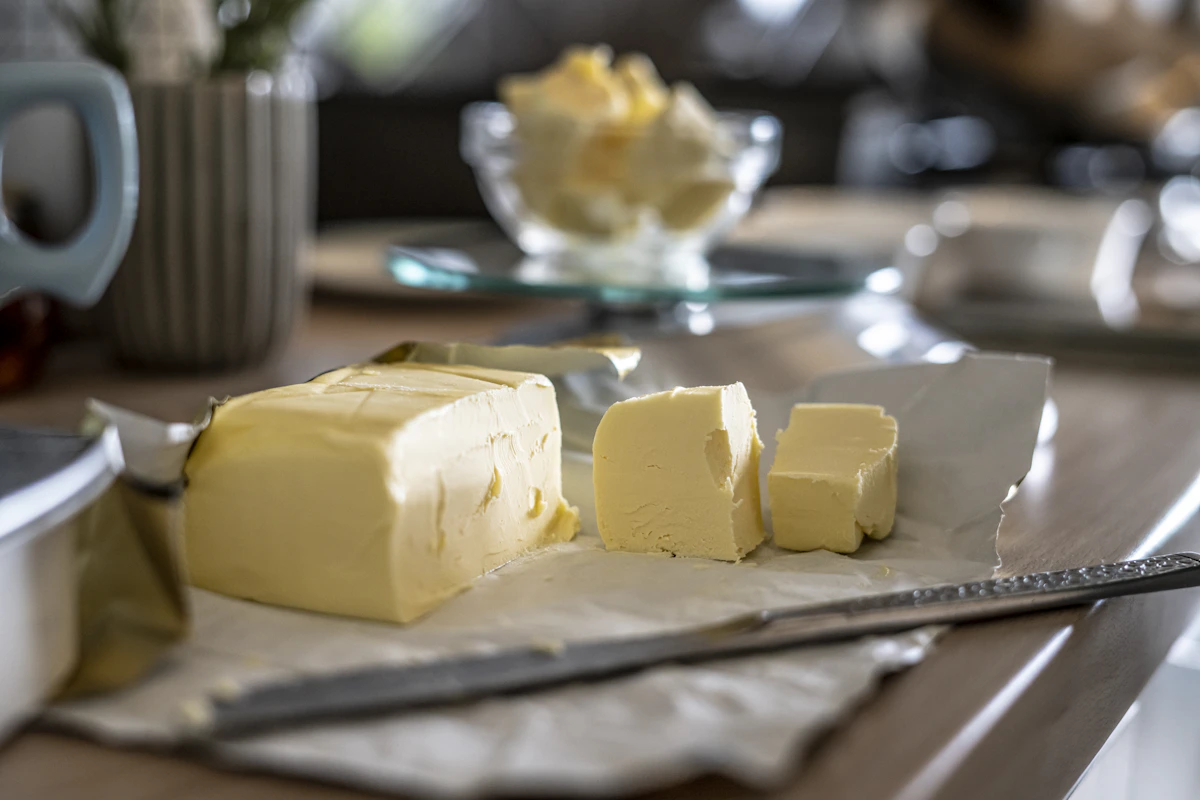
In the culinary pantheon of cooking fats, few ingredients possess the sheer versatility, aromatic depth, and timeless heritage of homemade ghee. Known as liquid gold in traditional Ayurvedic cooking and celebrated across French and South Asian cuisines, ghee is pure clarified butterfat that has been gently simmered until all water has evaporated and the milk proteins have toasted into fragrant, hazelnut-scented caramel.
Making your own ghee at home is an immensely satisfying kitchen ritual that requires just a single ingredient: high-quality butter. Within thirty minutes, a block of ordinary dairy transforms into a shelf-stable cooking fat with a soaring 485°F (250°C) smoke point, free of lactose and casein, and endowed with an intoxicating nutty flavor that elevates everything from seared steaks to roasted root vegetables.
Clarified Butter vs. Ghee: The Essential Difference
While often used interchangeably in Western kitchens, there is a distinct and flavorful difference between clarified butter and true traditional ghee:
- Clarified Butter: Butter is gently melted until the water cooks off and the white milk solids separate and float to the surface. The foam is skimmed off and the clear yellow fat is strained immediately. It has a neutral, clean butter flavor and high smoke point.
- Ghee (Toasted Butterfat): The butter is kept over gentle heat after the water evaporates. The milk solids sink to the bottom of the pan and are deliberately allowed to caramelize and brown. This Maillard reaction infuses the golden liquid fat with deep notes of toffee, toasted hazelnuts, and warm popcorn.
Why Every Home Cook Should Keep Ghee on Hand
- High Smoke Point (485°F / 250°C): Standard butter burns at 350°F because milk solids scorch quickly. Ghee has all milk solids removed, making it exceptional for high-heat searing, sautéing, and stir-frying without smoking or burning.
- Lactose & Casein Free: The separation and filtration process removes virtually all milk proteins and dairy sugars, making ghee suitable for many individuals with dairy sensitivities.
- Shelf-Stable for Months: Since all water has evaporated, bacteria and molds cannot survive. Stored in a clean, airtight glass jar at cool room temperature, ghee remains fresh for up to 6 months without refrigeration.
Step-by-Step Guide: Making Homemade Golden Ghee
Equipment Needed
- Heavy-bottomed medium stainless steel saucepan (avoid dark nonstick pans so you can monitor the color of browning milk solids)
- Fine-mesh stainless steel strainer
- Unbleached cheesecloth (folded into 4 layers) or an unbleached coffee filter
- Clean, dry 16-oz glass mason jar with tight lid
Ingredients
- 1 pound (4 sticks / 16 oz) high-quality unsalted butter (grass-fed or European cultured butter yields the most glorious golden hue and rich flavor)
Step-by-Step Instructions
- Melt the Butter: Cut the butter sticks into uniform 1-inch chunks. Place them into your heavy saucepan over medium-low heat. Let the butter melt slowly and evenly without browning.
- The First Stage (Boiling and Foaming): As the butter melts completely, it will begin to bubble actively. This is water evaporating from the butter (commercial butter contains 16-18% water). A thick, frothy white foam of whey proteins will rise to the surface. Keep heat at low to medium-low.
- The Second Stage (Separation): After 10 to 12 minutes, the vigorous bubbling will subside to gentle, quiet pops. The clear liquid fat will turn translucent and brilliant golden yellow, while the white milk solids will begin sinking to the bottom of the pan.
- The Third Stage (Caramelization): Continue simmering gently over low heat for another 5 to 8 minutes. Watch the bottom of the pan closely: the milk solids will transform from pale cream to golden yellow, and finally into a rich, amber, toasted brown color. The kitchen will fill with the intoxicating scent of roasted nuts and butterscotch. Remove the saucepan immediately from heat to prevent scorching.
- Strain and Filter: Let the ghee rest off the heat for 5 minutes. Line your fine-mesh strainer with 4 layers of cheesecloth (or a paper coffee filter) and set it over your clean, dry glass jar. Slowly pour the warm liquid fat through the filter. The brown milk solids will be caught completely in the cloth, leaving clear, gleaming golden liquid in your jar.
- Cool and Solidify: Let the open jar cool completely at room temperature for several hours. As it cools, the liquid gold will slowly set into a soft, creamy, granular golden paste. Cap tightly with the lid.
Chef’s Tips for Perfect Ghee
- Always Use Unsalted Butter: Salt concentrates heavily as water evaporates, which can leave your finished ghee unpleasantly salty and hinder your control over seasoning in recipes.
- Bone-Dry Utensils: Any drop of water introduced into your finished ghee jar can introduce mold and spoil shelf stability. Ensure your jars, spoons, and strainers are completely dry.
Frequently Asked Questions
Should ghee be stored in the refrigerator or the pantry?
Store ghee in a dark, cool pantry cupboard away from direct sunlight. It will stay fresh and soft enough to spread easily for 6 to 9 months. If refrigerated, it becomes rock-hard, though it will keep for up to a year.
What can I do with the strained toasted milk solids?
In traditional Indian kitchens, these sweet, caramelized browned bits are tossed with warm rice, rolled into flatbreads, or sprinkled over oatmeal with a pinch of brown sugar!